NestJS
[NestJS] Github OAuth 구현
begong
2024. 11. 17. 22:40
반응형
passport-github 설치
# 필요한 패키지 설치
pnpm add passport passport-github

# 타입 정의 패키지 설치 (개발 의존성)
pnpm add -D @types/passport-github
passport-github 전략설정
// auth/github.strategy.ts

@Injectable()
export class GitHubStrategy extends PassportStrategy(Strategy, 'github') {
  constructor(
    private configService: ConfigService,
    private authService: AuthService
  ) {
    super({
      clientID: configService.get<string>('GITHUB_CLIENT_ID'), //github에서 발급받은 client id
      clientSecret: configService.get<string>('GITHUB_CLIENT_SECRET'), //github에서 발급받은 secret *w절대 공개 금지*
      callbackURL: configService.get<string>('GITHUB_CALLBACK_URL'), //요청 성공 시 이동할 url
      scope: ['user:email'], //정보를 요청할 범위
    });
  }

  async validate(accessToken: string, refreshToken: string, profile: Profile) { //성공 시 요청한 정보가 profile에 담겨서 옴.
    const { id, username, emails, photos } = profile;

    const user = {
      provider: 'github',
      socialId: id,
      nickname: username,
      email: emails[0].value,
      profileImageUrl: photos?.[0]?.value,
    };
    this.authService.checkSocialUser(user);
    return user;
  }
}
- 주의
- accessToken, refreshToken 안쓴다고 validate 함수의 parameter로 안받아오면 profile에 데이터가 안담김!
auth Module에 등록
//auth.module.ts
@Module({
  imports: [
		...
  ],
  controllers: [],
  providers: [..., GitHubStrategy],
})
controller 생성
@Controller('auth')
export class AuthController {
  // GitHub 로그인 라우트
  @Get('github')
  @UseGuards(AuthGuard('github')) // GitHub 전략 사용
  async githubLogin() {
    // GitHub 인증 프로세스를 시작
  }

  // GitHub 인증 콜백 라우트
  @Get('github/callback')
  @UseGuards(AuthGuard('github'))
  async githubAuthCallback(@Req() req: ExpressRequest): Promise<LoginSuccessResponseDto> {
    const jwtToken = await this.authService.createJWT(req.user as Omit<User, 'password'>);
    return {
      status: 'success',
      data: jwtToken,
    };
  }
}
- github Strategy에 등록한 callbackURL 과 callback 라우트의 주소를 일치시켜야 함.
- 인증이후 할 동작들을 넣어주면 됨 ex) jwt토큰 생성 등
GITHUB 세팅
1. gethub setting → developer setting

2. OAuth Apps로 이동 (github 공식문서에서도 OAuth Apps 권장), New OAuth APP 클릭

3. 정보입력

- autorization callback URL에 아까 지정한 URL이 들어가야 함.
4. Client key 및 secret key 환경변수 입력

//.env
GITHUB_CLIENT_ID=Ov23liE8XF7Ky1iavHoK
GITHUB_CLIENT_SECRET={client-secret}
GITHUB_CALLBACK_URL=http://localhost:3000/api/auth/github/callback
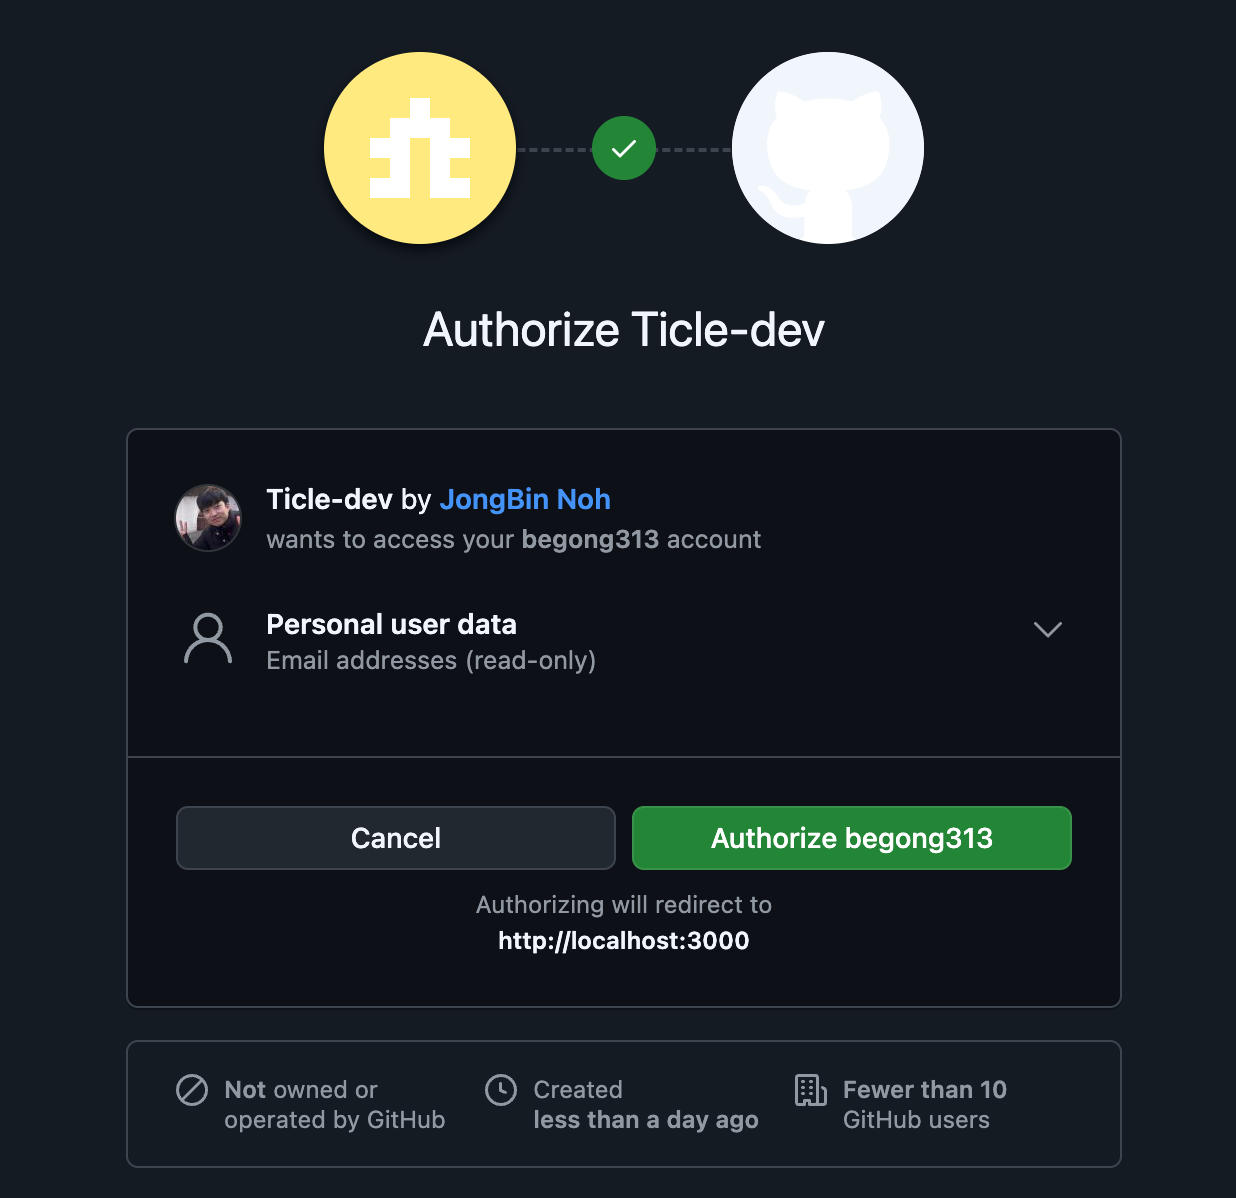
완성!
반응형